

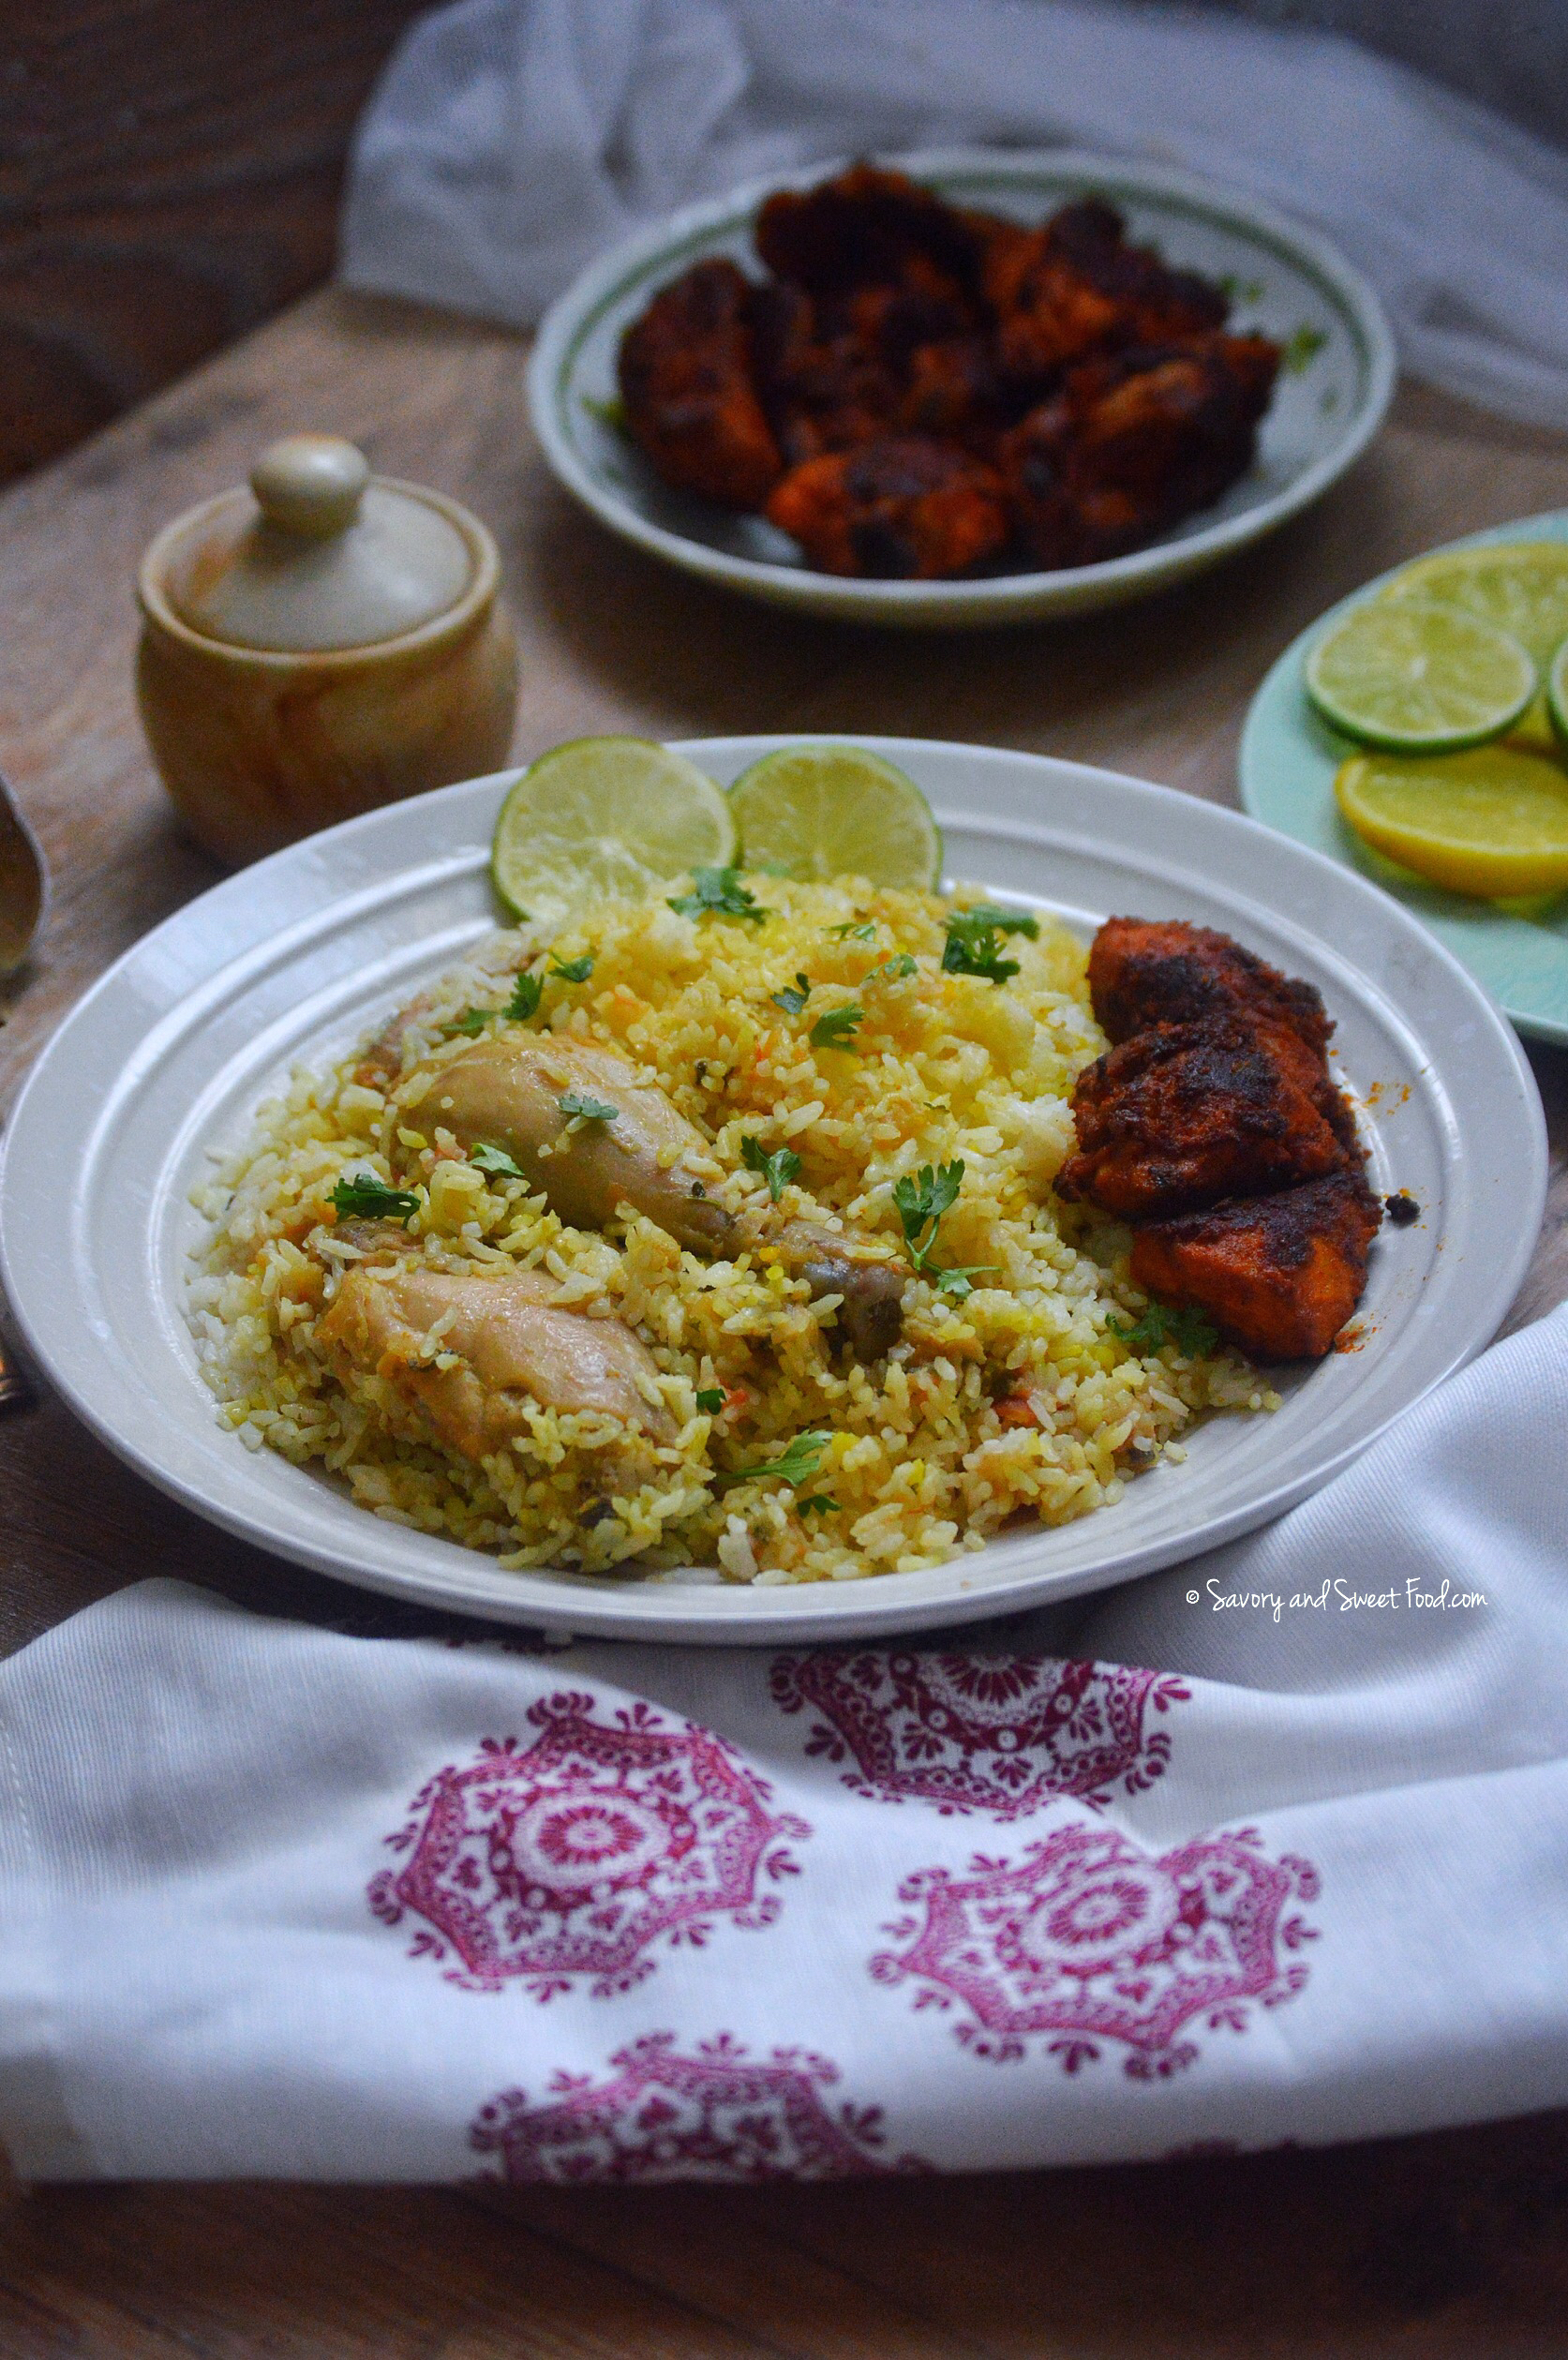
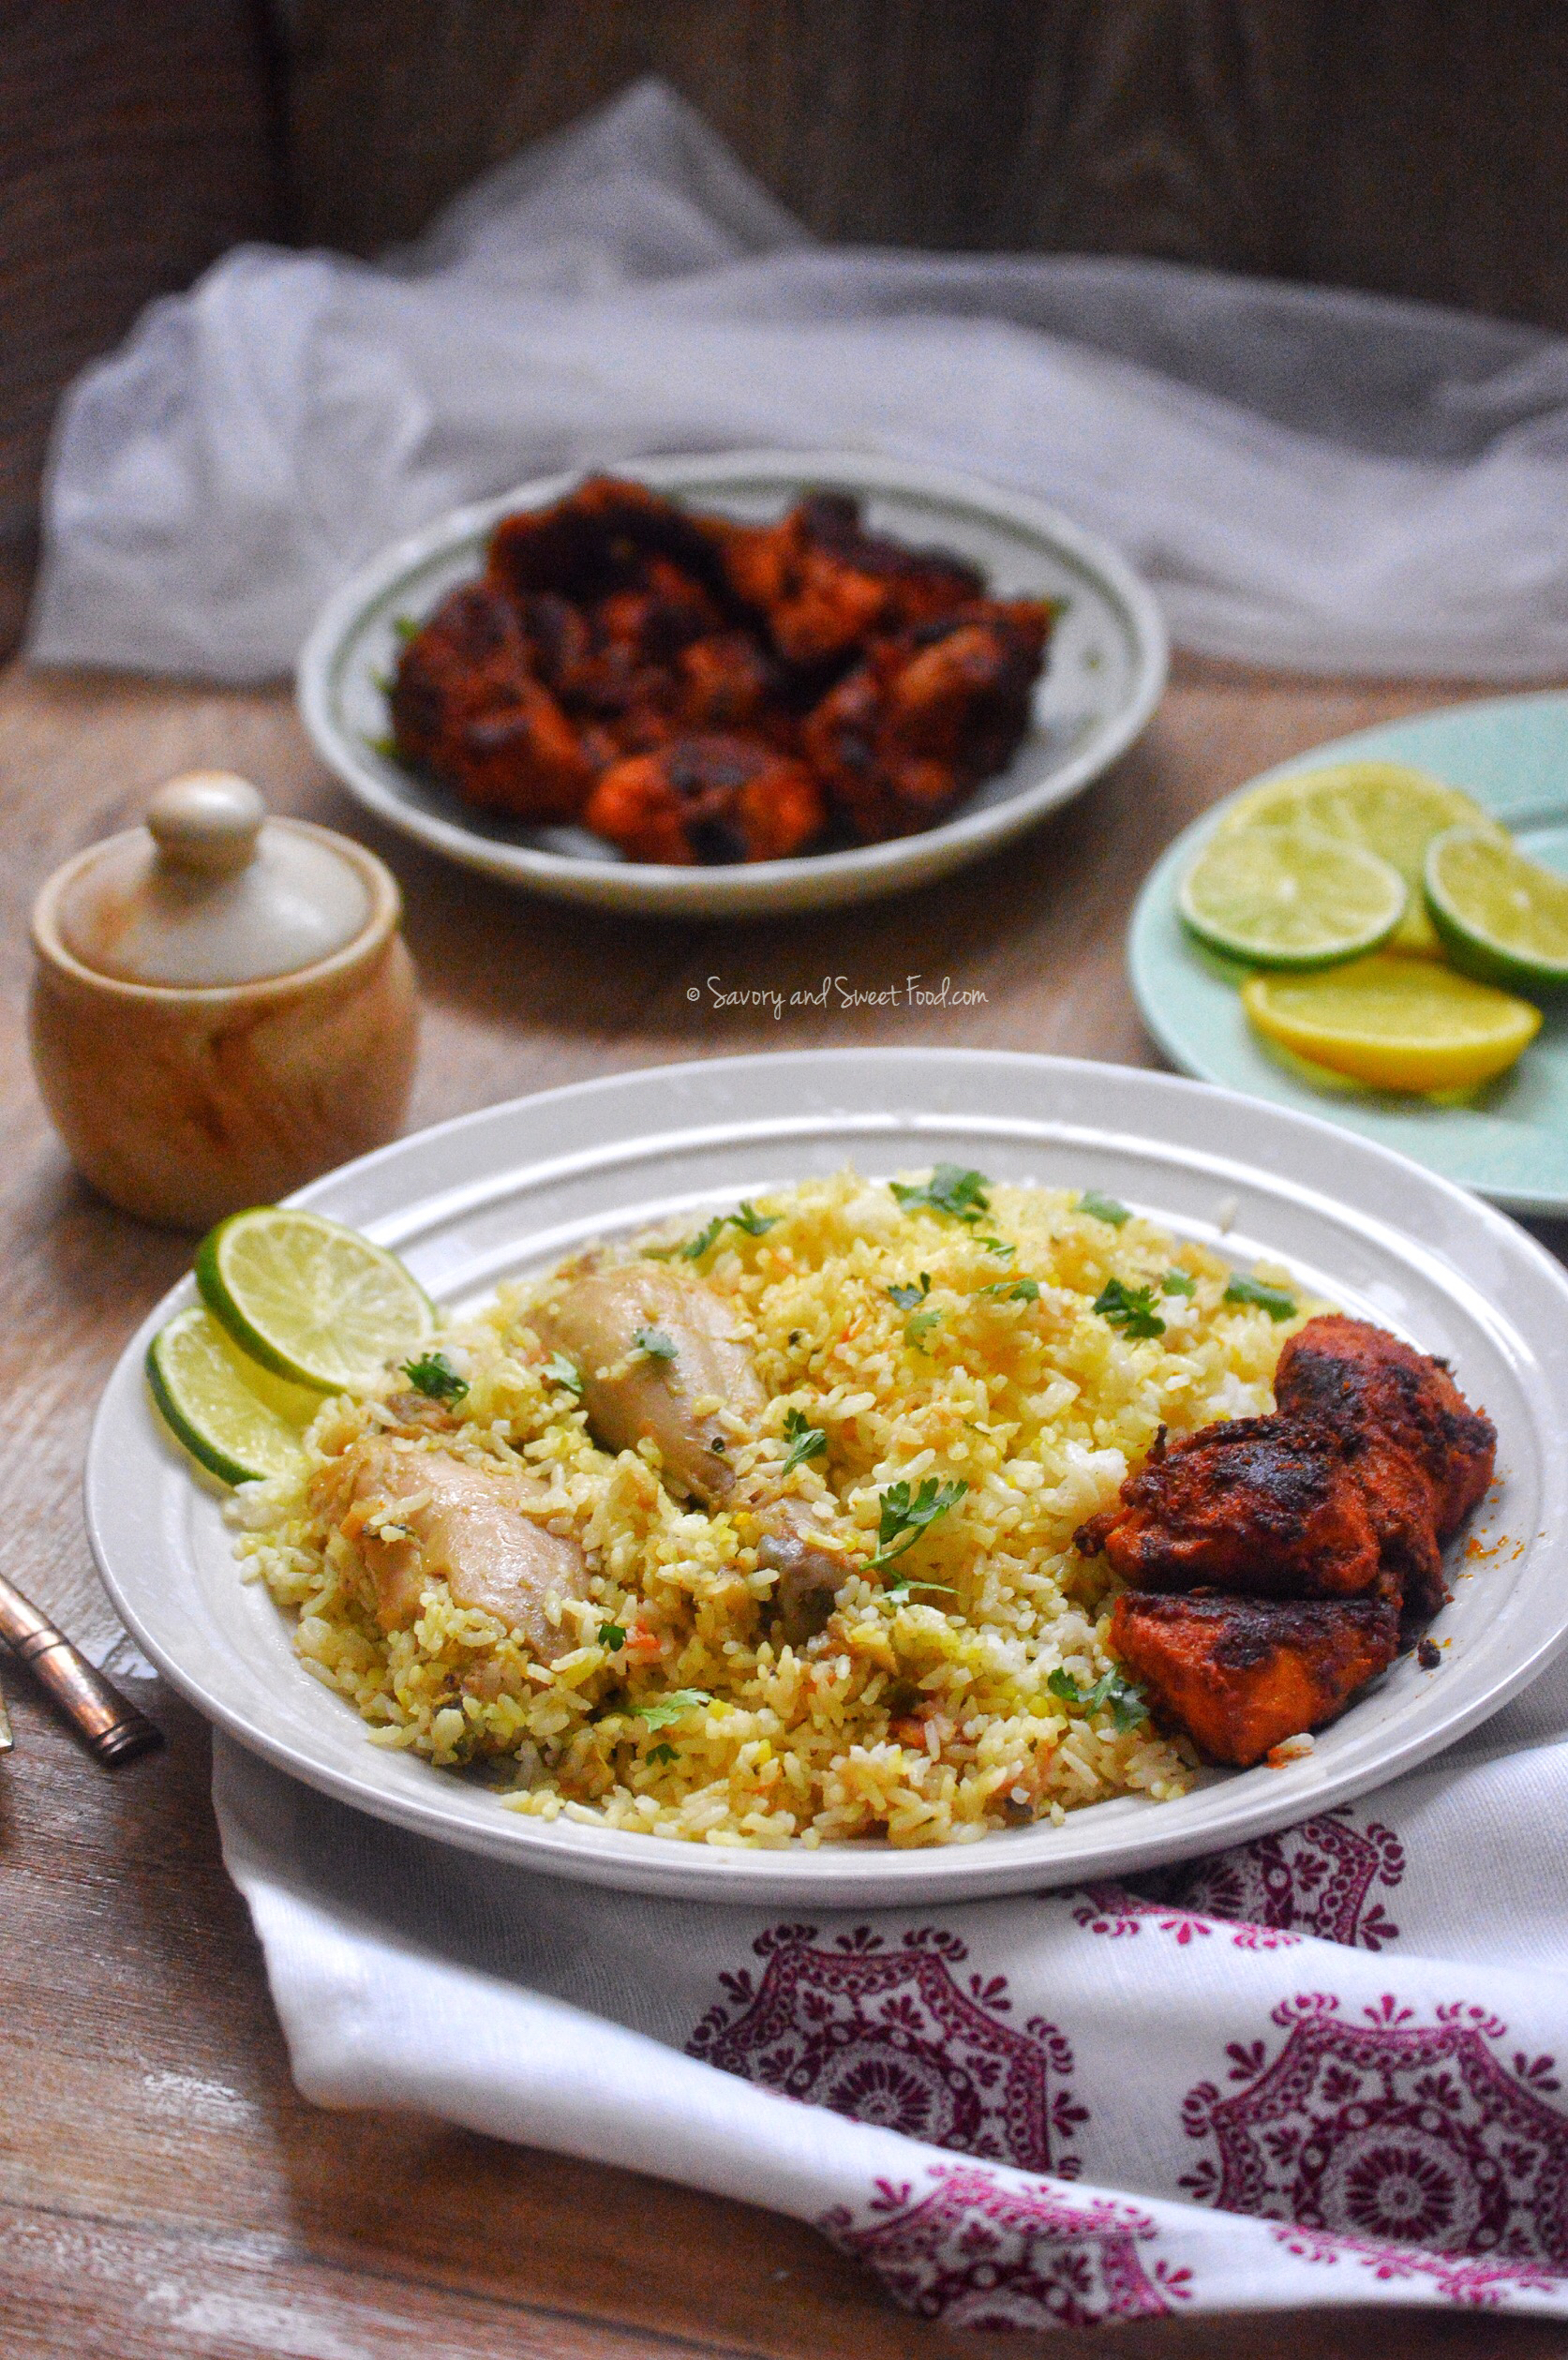
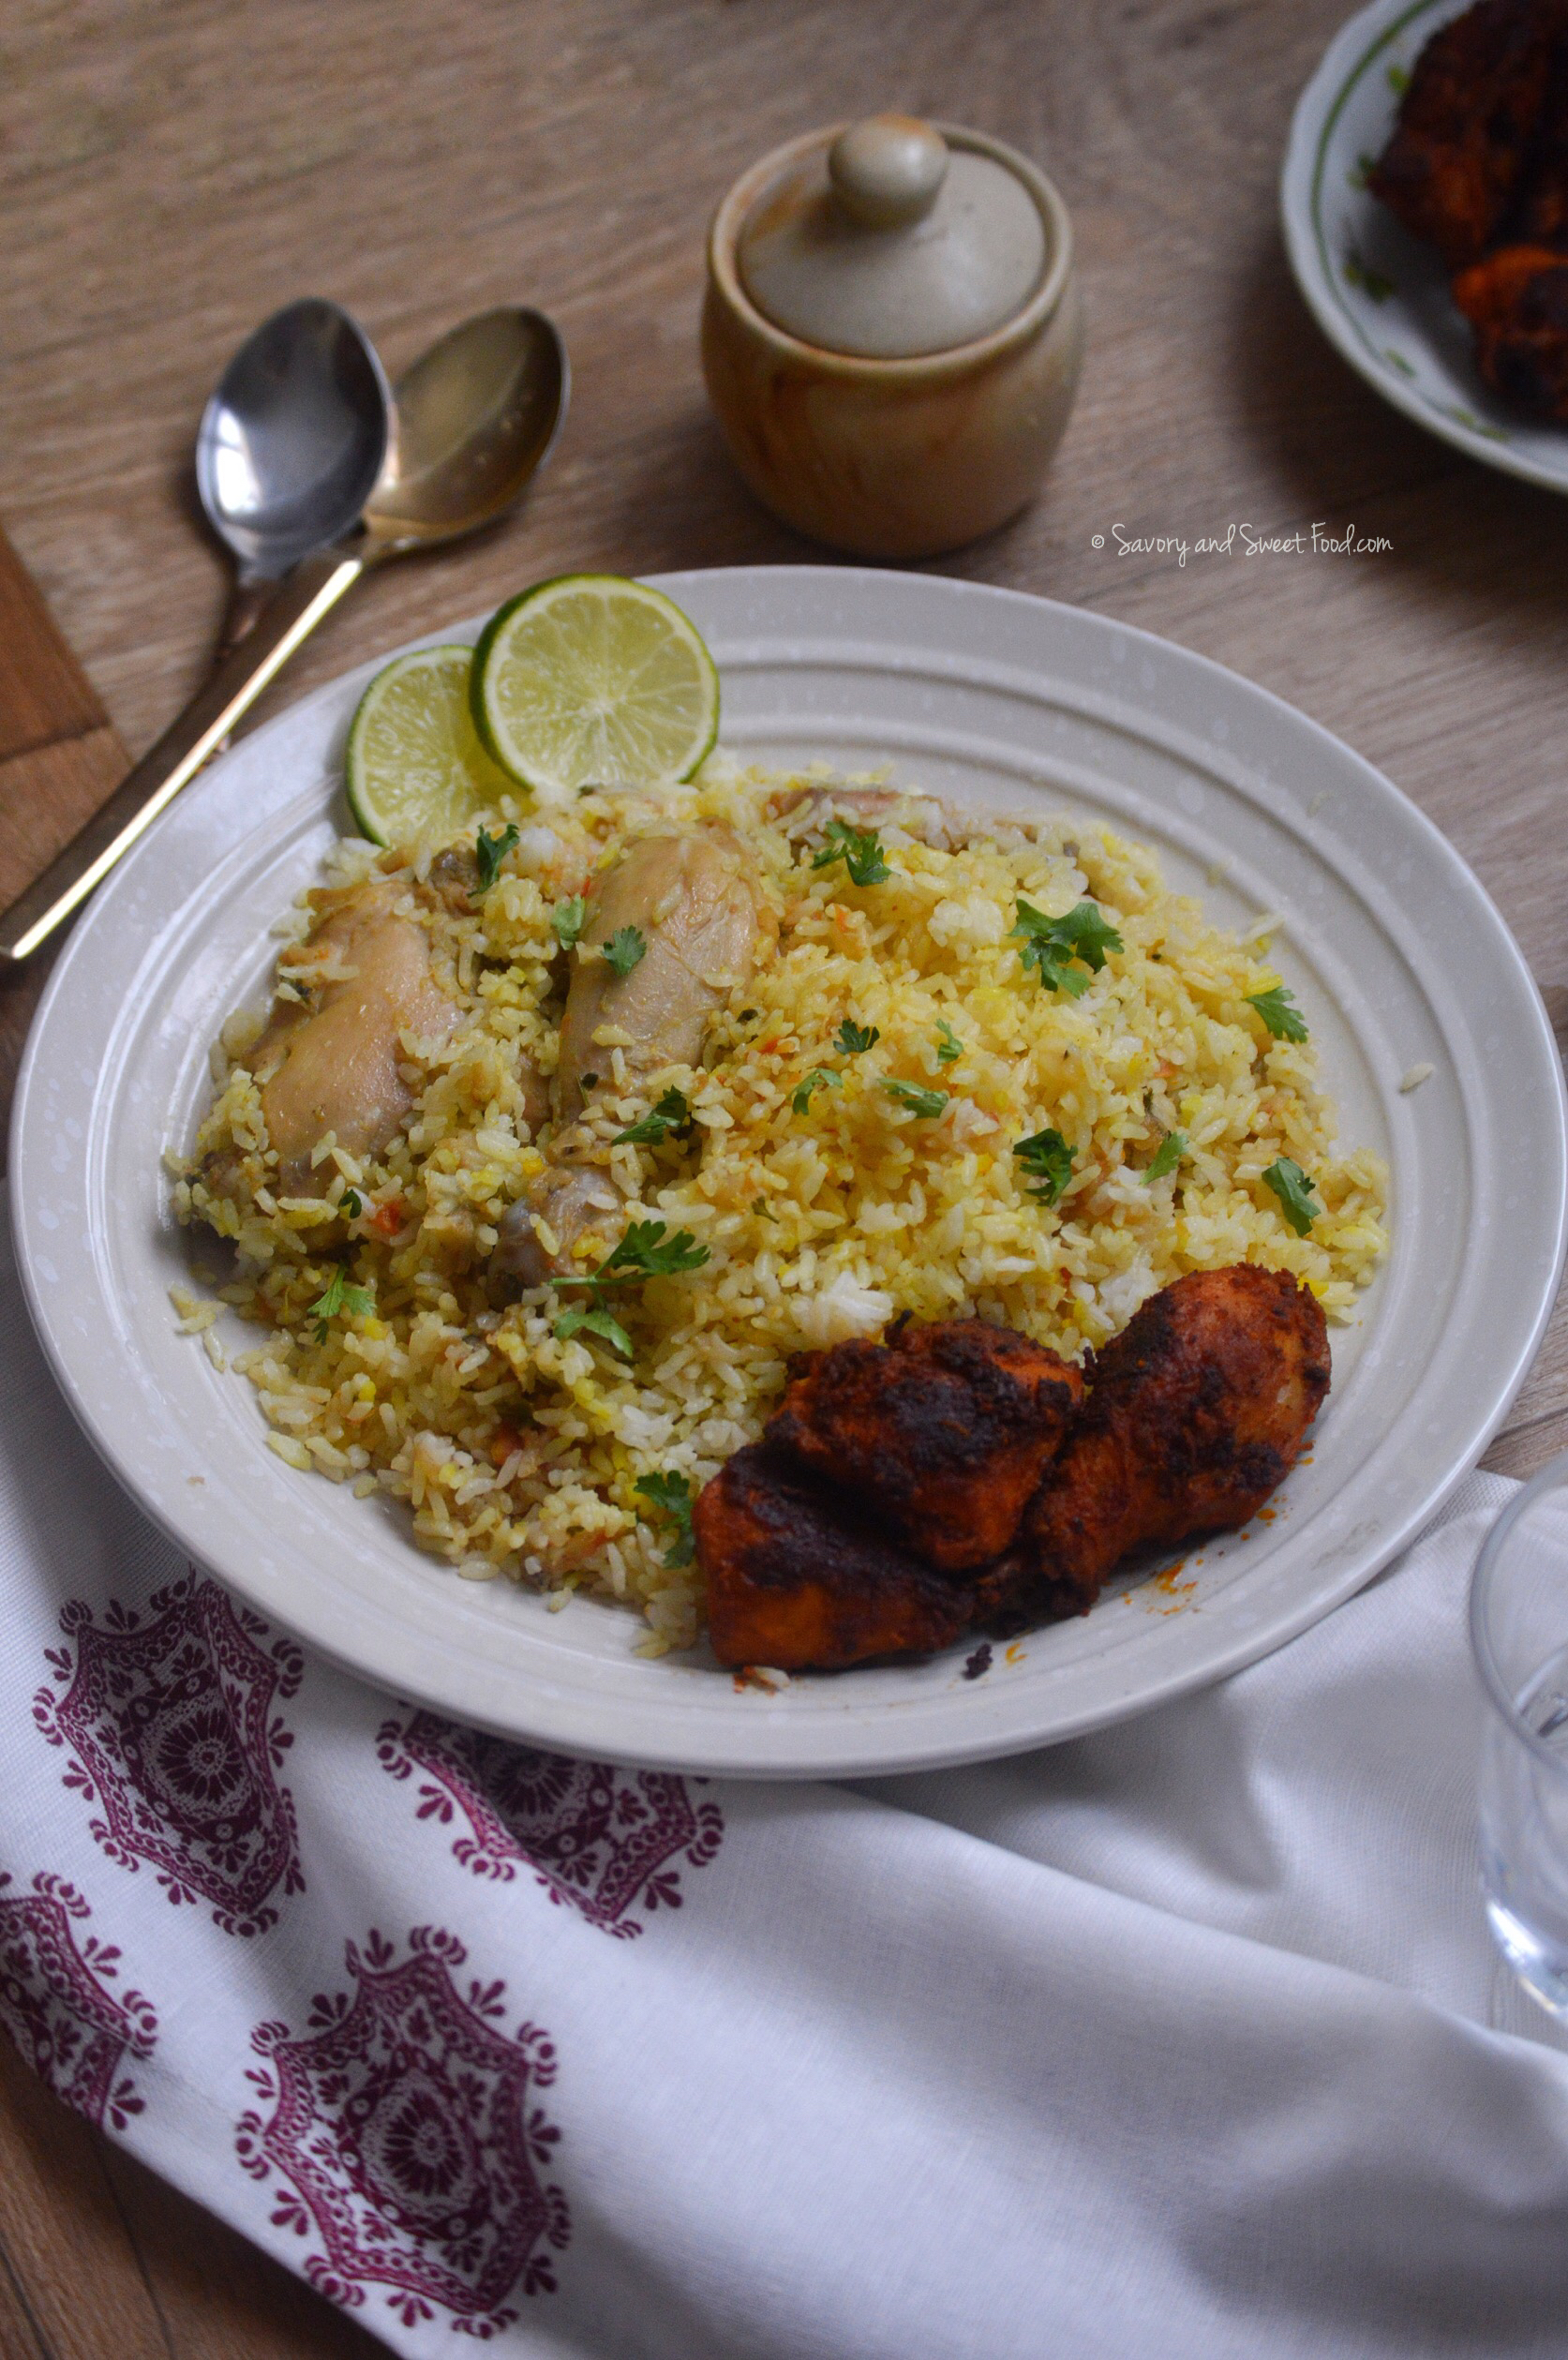
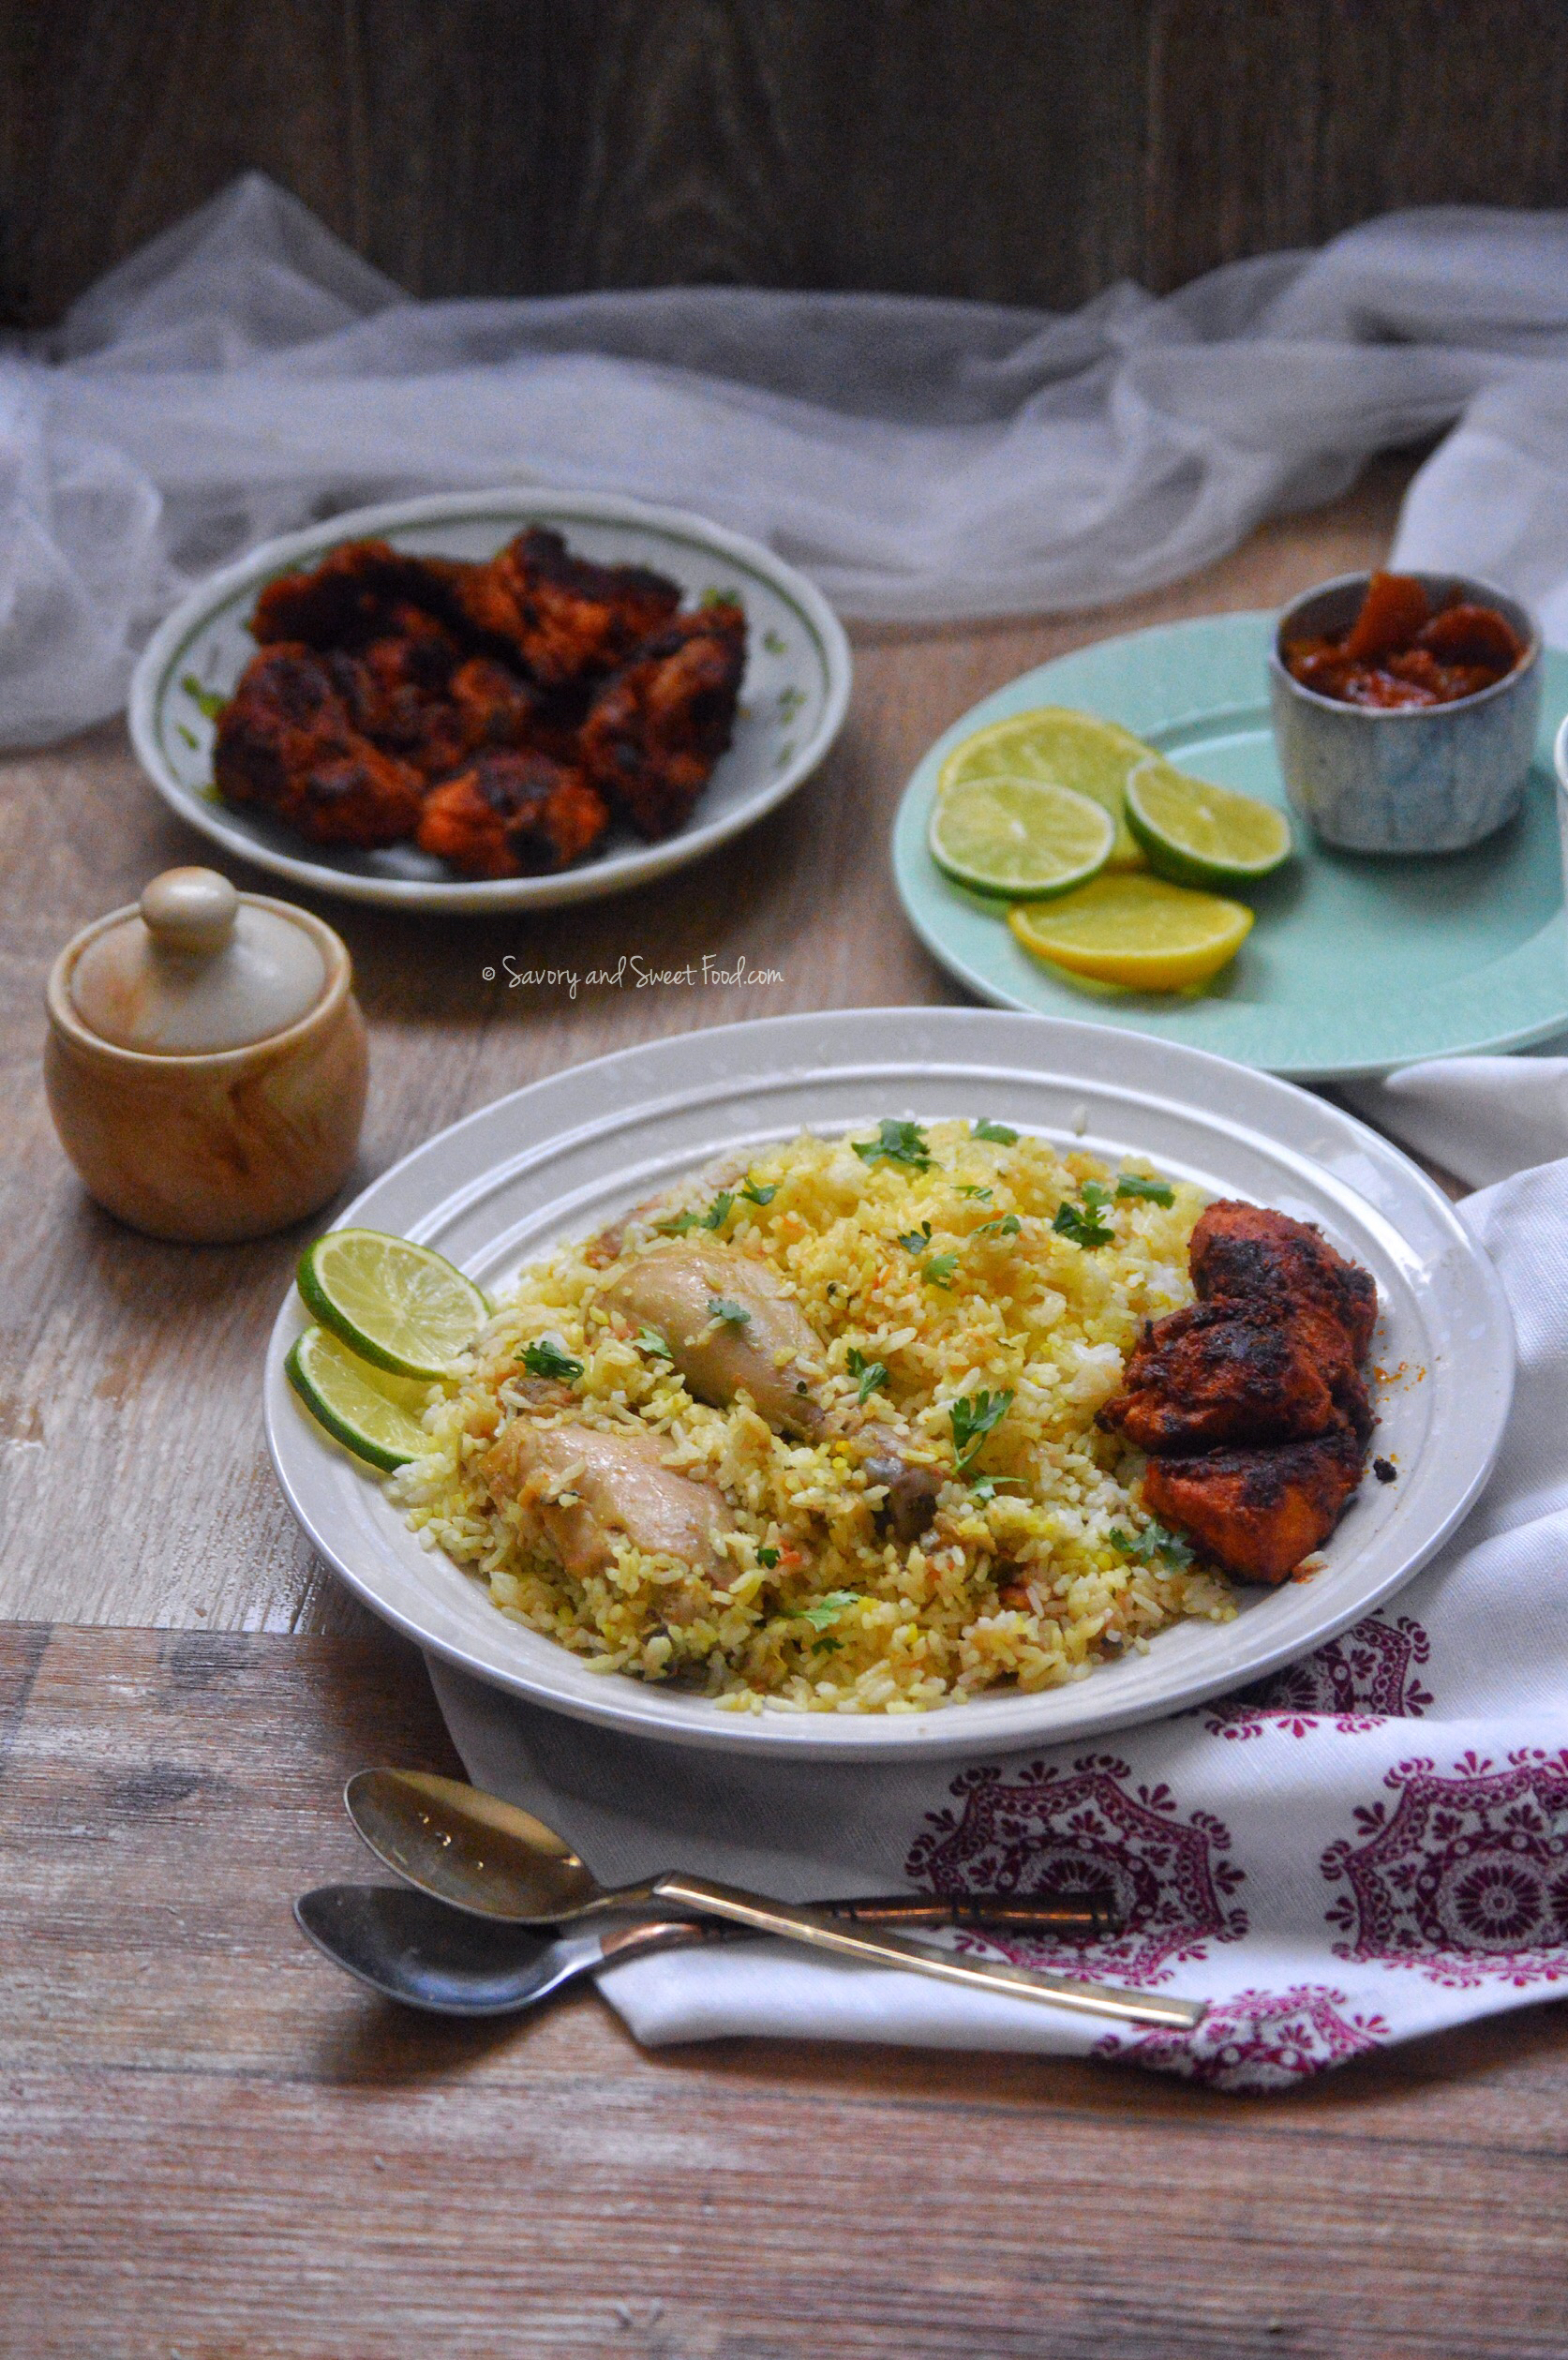
A very quick Malabar Chicken Biryani which can be made in a jiffy and is a true indulgence. This recipe is perfect when you are not in the mood for the long sautéing process that comes with making any biryani.
Who doesn’t love Biryani?
My Husband is a die-hard fan of biryanis. And this is his most favorite biryani and there is a specific reason for that – this is his moms recipe. Everybody loves their moms food, particularly husbands. 😀 I can totally understand why he puts this biryani above any other biryani recipe. It is one of my favorites too. I make this almost every weekend and some week days too when Fadal craves a taste of his home.
In this recipe, I really like the fact that you don’t have to sauté the onions, ginger, garlic and tomatoes when making the masala. Just dump everything into the magic vessel, “The Pressure Cooker” and it will do the job very neatly. Uma doesn’t add any masala powder to this, even then it is flavor packed.
I’m sure that you guys might have thought that this biryani is a one pot dish, where the rice and masala gets cooked together in the pressure cooker (and usually ends up tasting like a pulao). Here since we are making the masala and the rice separate, it turns out to be an awesome Malabar style Chicken Biryani. My sweetest ever mom-in-law contributed a lot to this blog. Being a mom to 6 children (mashahAllah), most of her recipes are quick, fuss-free ones…perfect for the crazy, busy days. I will share more of her recipes with you guys soon. 🙂
INGREDIENTS:
For the masala:
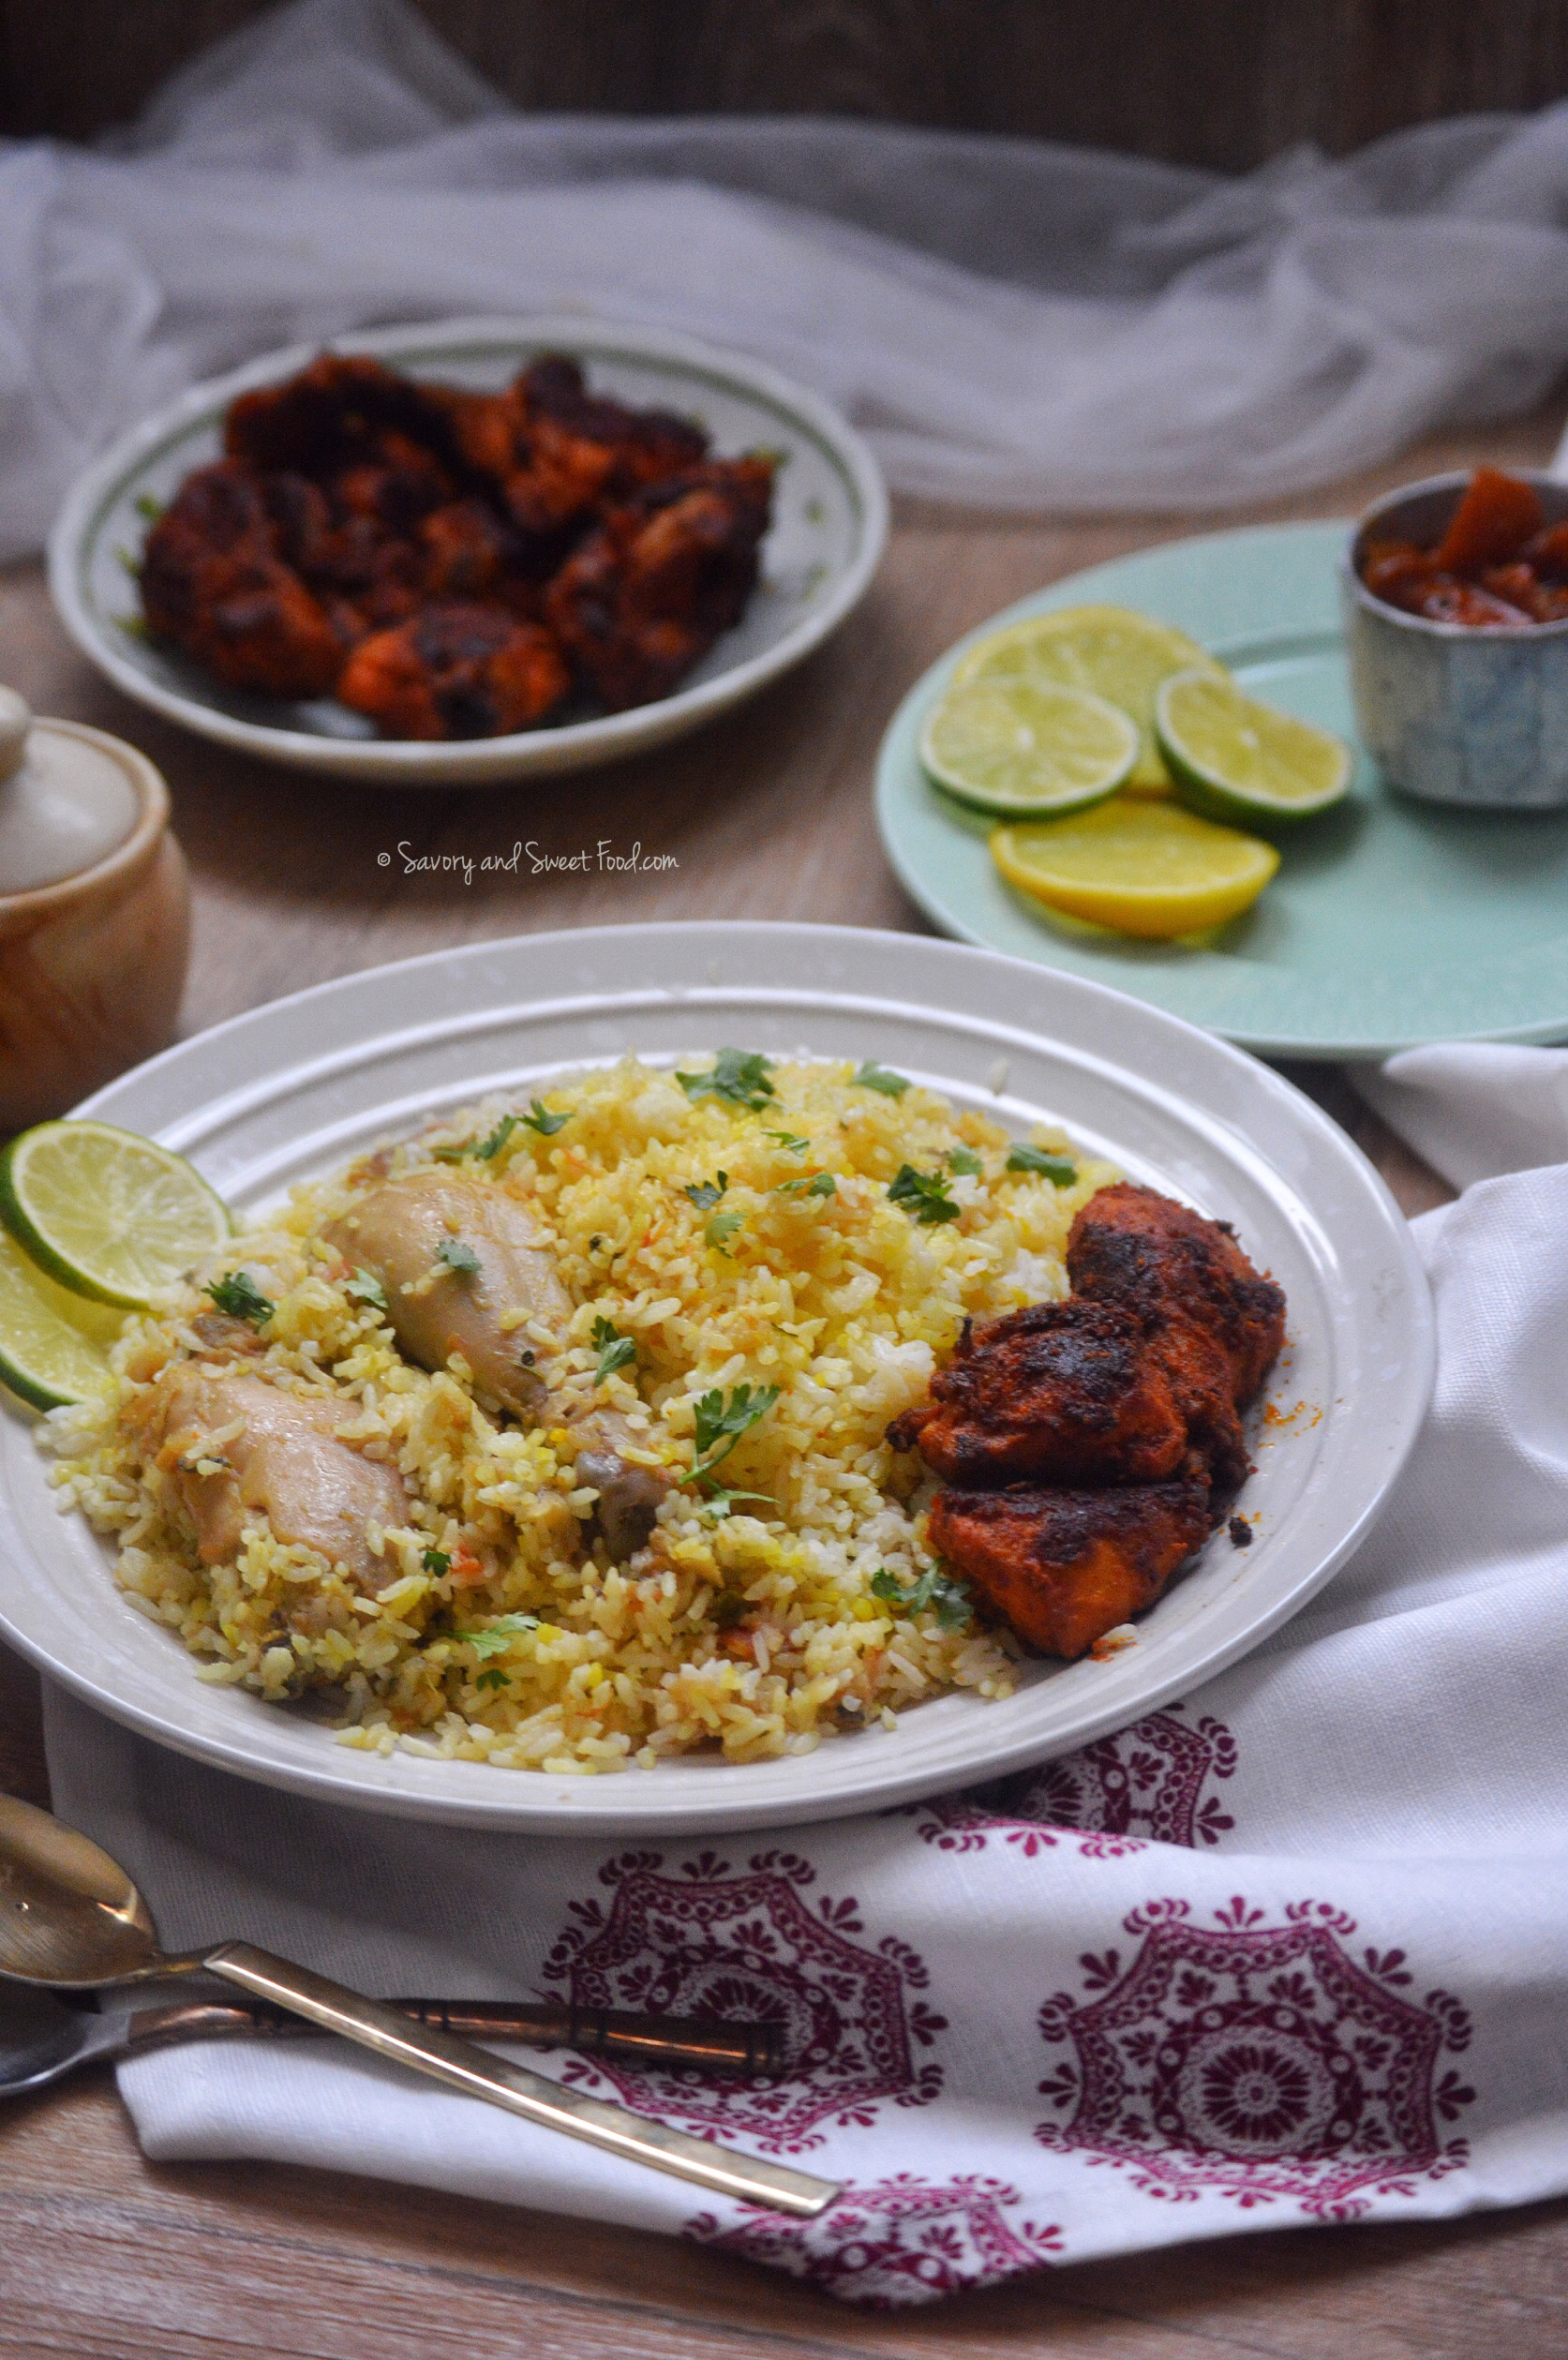
- 1 kg chicken with bones
- 3 cloves
- 1 inch stick cinnamon
- 3 whole cardamom
- 6 large onions chopped
- 7 green chillies
- 3 tbsp ginger garlic paste
- 2 big tomatoes
- a bunch of coriander leaves
- salt to taste
- 3 tbsp oil
For the ghee rice:
- 3-4 tbsp ghee
- 2 cloves
- 1 stick cinnamon
- 2-3 cardamom pods
- 2 tsp rose water
- 3 cups basmati/ Jeerakashala rice (soaked in water for half to one hour)
- 5 cups of boiling water plus 1/4 cup more if needed
- salt to taste
Extras:
- 2 tbsp lemon juice, 2 tbsp water plus 1/4 tsp turmeric powder mixed together.
- fried onions
- handful of cashews, slit
- handful of raisins
- extra ghee
NOTES:
- Usually when cooking the rice, the water required is double the amount of rice. But it varies depending upon the type of rice you are using. And also as the masala will have some moisture in it, the rice will absorb it evenly. If you use more water, the rice will get sticky and soggy.
- If you feel that the masala is too much, don’t add the entire masala to the rice while layering. Reserve the left over and serve it alongside the biryani and it can be used if needed.
DIRECTIONS:
(I deleted the step by step pictures by mistake 🙁 , will update with the pictorial soon)
To make the masala:
In a pressure cooker pan, heat oil and add the whole garam masalas (cloves, cinnamon and cardamom).
Once the aroma gets released, add in the onions. Add salt. Stir once and close the pressure cooker lid. Keep on high heat and let two whistles blow. Let the pressure get released and then open the lid. The onions should turn very soft at this time. If it didn’t, close the lid and let one more whistle blow.
Add ginger garlic paste plus green chillies and stir around and cook for a minute.
Add in the tomatoes. Mix well. Close the cooker lid again and let two whistles blow.
Open the lid. At this point there will be lots of water that is released from the masala.
Add the cleaned chicken pieces to the masala and cook on high heat for 20 minutes, stirring in between.
Once the chicken gets cooked and the gravy thickens well, add in the chopped coriander leaves. Mix well.
Masala is ready.
To cook the Ghee rice:
- In a pan, add the ghee. Drop in the whole garam masala.
- Once the aroma is released, add in the washed and drained rice.
( If you are using basmati rice, it would be better to soak the rice for 1/2 an hour). Fry the rice in ghee for a minute on high heat. - Pour the boiled 5 cups of water. Pour in the rose water. Add in the salt.
- Let it boil on high heat till the water reduces. ( The water should be in the same level as the rice).
- Reduce the heat to low, cover the pan with lid and cook for 10 minutes. Open lid and just stir the rice carefully. At this point, if you feel that the rice is not cooked at all and needs more water, pour in 1/4 cup more of water. Close the lid again and cook for 5 more minutes. Once the rice is cooked fluff up the rice with a fork or a large spatula carefully without breaking the rice.
Assembling the biryani:
- Divide the rice into three parts.
- In a pot, place a layer of rice.
- Then spread half of the masala on top.
- Again place a layer of ghee rice. Pour few teaspoons of ghee all over the rice.
- Place the remaining half of the chicken.
- Then the final layer of ghee rice. Pour few teaspoons of ghee all over, then pour the turmeric and lemon juice mix for the yellow color evenly over the rice.
- Place the fried onions, cashews and raisins. Cover with lid and keep for dum on lowest heat inside the oven for 30 minutes. If you do not have an oven, just cover the vessel with foil (to ensure the steam says in), then close the lid tightly. Heat a tawa on lowest flame possible, place the biryani on top and cook for 20-25 minutes. Make sure the heat is lowest both in oven and stove top or else the biryani bottom might get burnt.
Assalamu alaykum sister
Thank you for your wonderful recipes! I love your post and recipes!
Do you think you could put some recipes of tandoori chicken, lamb chops and steak?
Would really Love to attempt to make those.
walaikumsalaam Juli,
I am very sorry for replying so late. I somehow missed your comment. I will post your requested recipes soon in the blog, in shaa Allah. Btw there is a lamb chops masala recipe in the blog.
Nice..
Thank you:)